Blog

Quick TECH KC LLC

Samsung Galaxy S21 Plus Screen Replacement Guide Step-by-Step Repair

Replacing a Samsung Galaxy S21 Plus screen requires precision, proper tools, and patience. This step-by-step guide explains the full screen replacement process, from preparation to final testing, helping users understand what’s involved before attempting a repair.

Tools & Materials Needed for Samsung Galaxy S21 Plus Screen Replacement

Before starting, gather the following tools:

  • Heat gun or hair dryer

  • Suction cup

  • Plastic opening picks

  • Phillips screwdriver

  • Tweezers

  • Spudger

  • Isopropyl alcohol

  • Replacement adhesive

  • Samsung Galaxy S21 Plus replacement screen

Preparation Before Screen Replacement

Proper preparation reduces the risk of damage during repair.

  • Power off the device: Hold the Power + Volume Down buttons and shut down the phone

  • Discharge the battery: Keep battery level below 25% to reduce fire risk

  • Work environment: Use a clean, well-lit, static-free workspace

Contact Quick Tech KC LLC​
Process

Samsung Galaxy S21 Plus Screen Replacement Process

At Quick Tech KC LLC in Kansas City, MO, we follow easy steps to fix your phone or laptop. We keep things simple, fast, and clear so you get the best service.

Step 1: Heat and Remove the Back Cover

Use a heat gun or hair dryer to gently heat the edges of the back cover. This softens the adhesive.
Carefully insert a suction cup and plastic pick to pry the back cover away from the phone.

Step 3: Remove the Midframe

Unscrew and lift the midframe to access the internal components and display connectors.

Step 5: Heat and Remove the Front Screen

Apply heat around the edges of the front display to loosen the adhesive.
Use plastic picks to gently lift and remove the cracked screen from the frame.

Step 7: Apply New Adhesive

Apply fresh adhesive strips or glue evenly around the phone frame.

Step 2: Disconnect the Battery

  • Remove the screws securing the protective brackets

  • Carefully disconnect the battery connector to prevent electrical damage

Step 4: Disconnect the Display Cable

Locate the screen connector and carefully detach it using a spudger.

Installing the New Samsung Galaxy S21 Plus Screen

Step 6: Clean the Frame

Remove leftover adhesive and debris using isopropyl alcohol. This ensures proper bonding.

Step 8: Install the Replacement Screen

Align the new screen carefully and press it into place.

Step 9: Reconnect Components

  • Reconnect the display cable securely

  • Reattach the midframe

  • Reconnect the battery

  • Reseal the back cover

Final Testing After Screen Replacement

After reassembly, power on the device and check:

  • Touchscreen responsiveness

  • Display brightness and color accuracy

  • Fingerprint sensor functionality

  • Edge sealing for proper waterproofing

Important Notes Before Attempting Screen Replacement

  • Difficulty level: Moderate

  • Estimated time: 1–2 hours

  • Risk factors: Delicate cables, battery damage if rushed

  • Professional option: If unsure, professional repair is safer and often more cost-effective

Learn More from iFixit

For additional visuals and technical reference, visit the official iFixit guide:
Samsung Galaxy S21 Plus Screen Replacement Guide

Quick Tech KC LLC

Screen Replacement for iPad Pro 11-inch (2nd Gen, 2020) – Model A2068

Watch how we professionally perform an iPad Pro 11 (2020) screen replacement for model A2068. Safe LCD and glass digitizer repair step-by-step.

iPad Pro 11 screen replacement is required when the display glass cracks, the LCD shows lines, or touch stops responding. In this video, we demonstrate a complete screen replacement process for the iPad Pro 11-inch 2nd generation (2020), model A2068, including LCD assembly and glass digitizer installation.

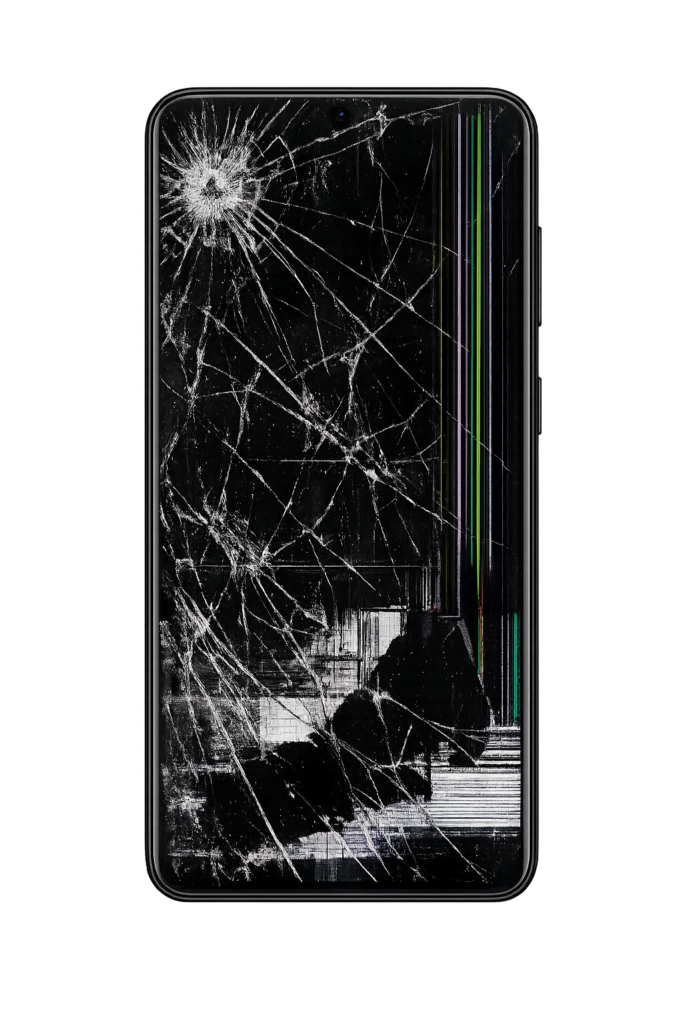
If your iPad screen is broken, flickering, or unresponsive, professional repair is the safest way to restore full performance without risking internal damage.

iPad Pro 11 (2020) Screen Replacement Video – Full Repair Process

In this video, you’ll see how our technicians carefully replace the LCD assembly and glass touch digitizer on an iPad Pro 11 (2nd Gen). Every step is performed using proper tools, static-safe handling, and precision techniques to avoid damage to Face ID, sensors, and internal components.

This repair applies to model A2068 released in 2020

Common Signs You Need iPad Pro 11 Screen Repair

Ignoring these issues can lead to further damage to the logic board or battery.